Phase 1: Immediate Shutdown (Minutes 0 to 5)
- Cut power at the breaker. Locate the dedicated 15 or 20 amp dishwasher circuit in your panel and switch it off. Do not reach for the dishwasher's front control panel while standing in water.
- Close the hot water supply valve. Look under the adjacent sink for a quarter turn or multi turn valve on a 3/8 inch compression line. Rotate clockwise until firm. If the valve is seized or absent, shut the home's main supply.
- Stop the wash cycle electronically only if dry. If the floor in front of the appliance is dry and you wear rubber soled shoes, press Cancel/Drain. Otherwise skip this step.
- Open the dishwasher door slowly. Expect 1 to 3 gallons of retained water to spill from the tub. Position towels at the threshold first.
- Clear a 6 foot perimeter. Move bar stools, pet bowls, and floor mats out of the work zone. You need unobstructed access for extraction equipment within the next 15 minutes.
- Notify household occupants. Keep children and pets out of the kitchen until the floor is dry and power is restored. Wet tile near a 120V appliance circuit presents a shock hazard until both conditions are corrected.
Phase 2: Source Identification (Minutes 5 to 15)
- Inspect the fill solenoid valve at the lower left of the appliance. A failed solenoid drips at 0.5 to 2 gallons per hour even when the unit is idle.
- Check the drain hose loop behind the dishwasher. The high loop must sit at least 32 inches above the floor or be secured to an air gap. A collapsed loop siphons sink water back into the tub.
- Examine the door gasket for tears, food debris, or hardened residue. Gaskets fail at year 5 to 8 on most residential units.
- Look for white mineral crust on the supply line braid. Crust indicates a slow weep that has been active for weeks.
- Pull the toe kick panel (two screws) and check the float switch, pump housing, and sump for cracks.
- Verify the air gap fitting at the countertop. A clogged air gap can backflow up to 1 gallon onto the counter and down the cabinet face during a drain cycle.
- Trace the discharge route from the drain hose to the disposer nipple or branch tailpiece. A loose hose clamp at the disposer is the single most common source on units less than 3 years old.
Phase 5: Prevention Protocol
- Replace rubber supply hoses every 5 years with stainless braided lines rated to 1,500 PSI burst pressure.
- Install a leak detector with auto shutoff at the supply valve. Quality units run $120 to $250 and trigger at 1 to 3 ml of detected moisture.
- Inspect the drain hose high loop every 6 months. Re secure to underside of countertop if it has slipped.
- Run a vinegar cycle monthly to clear hard water scale from the fill solenoid and spray arms.
- Replace the door gasket at year 6 regardless of visible condition.
- Place a moisture sensor ($15 to $30) directly under the appliance. Alerts arrive before damage spreads.
- Photograph the model number and serial plate now, before a flood, and store the image with your homeowner records.
- Test the float switch quarterly by lifting it manually. It should click free and return without resistance.
- Verify water pressure at the kitchen supply with a $12 gauge. Pressures above 80 PSI stress hose fittings and shorten solenoid life by 30 to 40 percent.
For loss scenarios involving other appliances on shared kitchen plumbing, our coverage of kitchen water damage from sink and appliance leaks covers related response procedures.
Phase 3: Water Removal and Damage Assessment (Minutes 15 to 60)
- Extract standing water with a wet/dry vacuum rated for at least 6 gallons. Mopping spreads contamination and pushes water deeper into seams.
- Lift any area rugs or runners within 10 feet of the appliance. Carpet pad acts as a sponge and holds water against the subfloor for days.
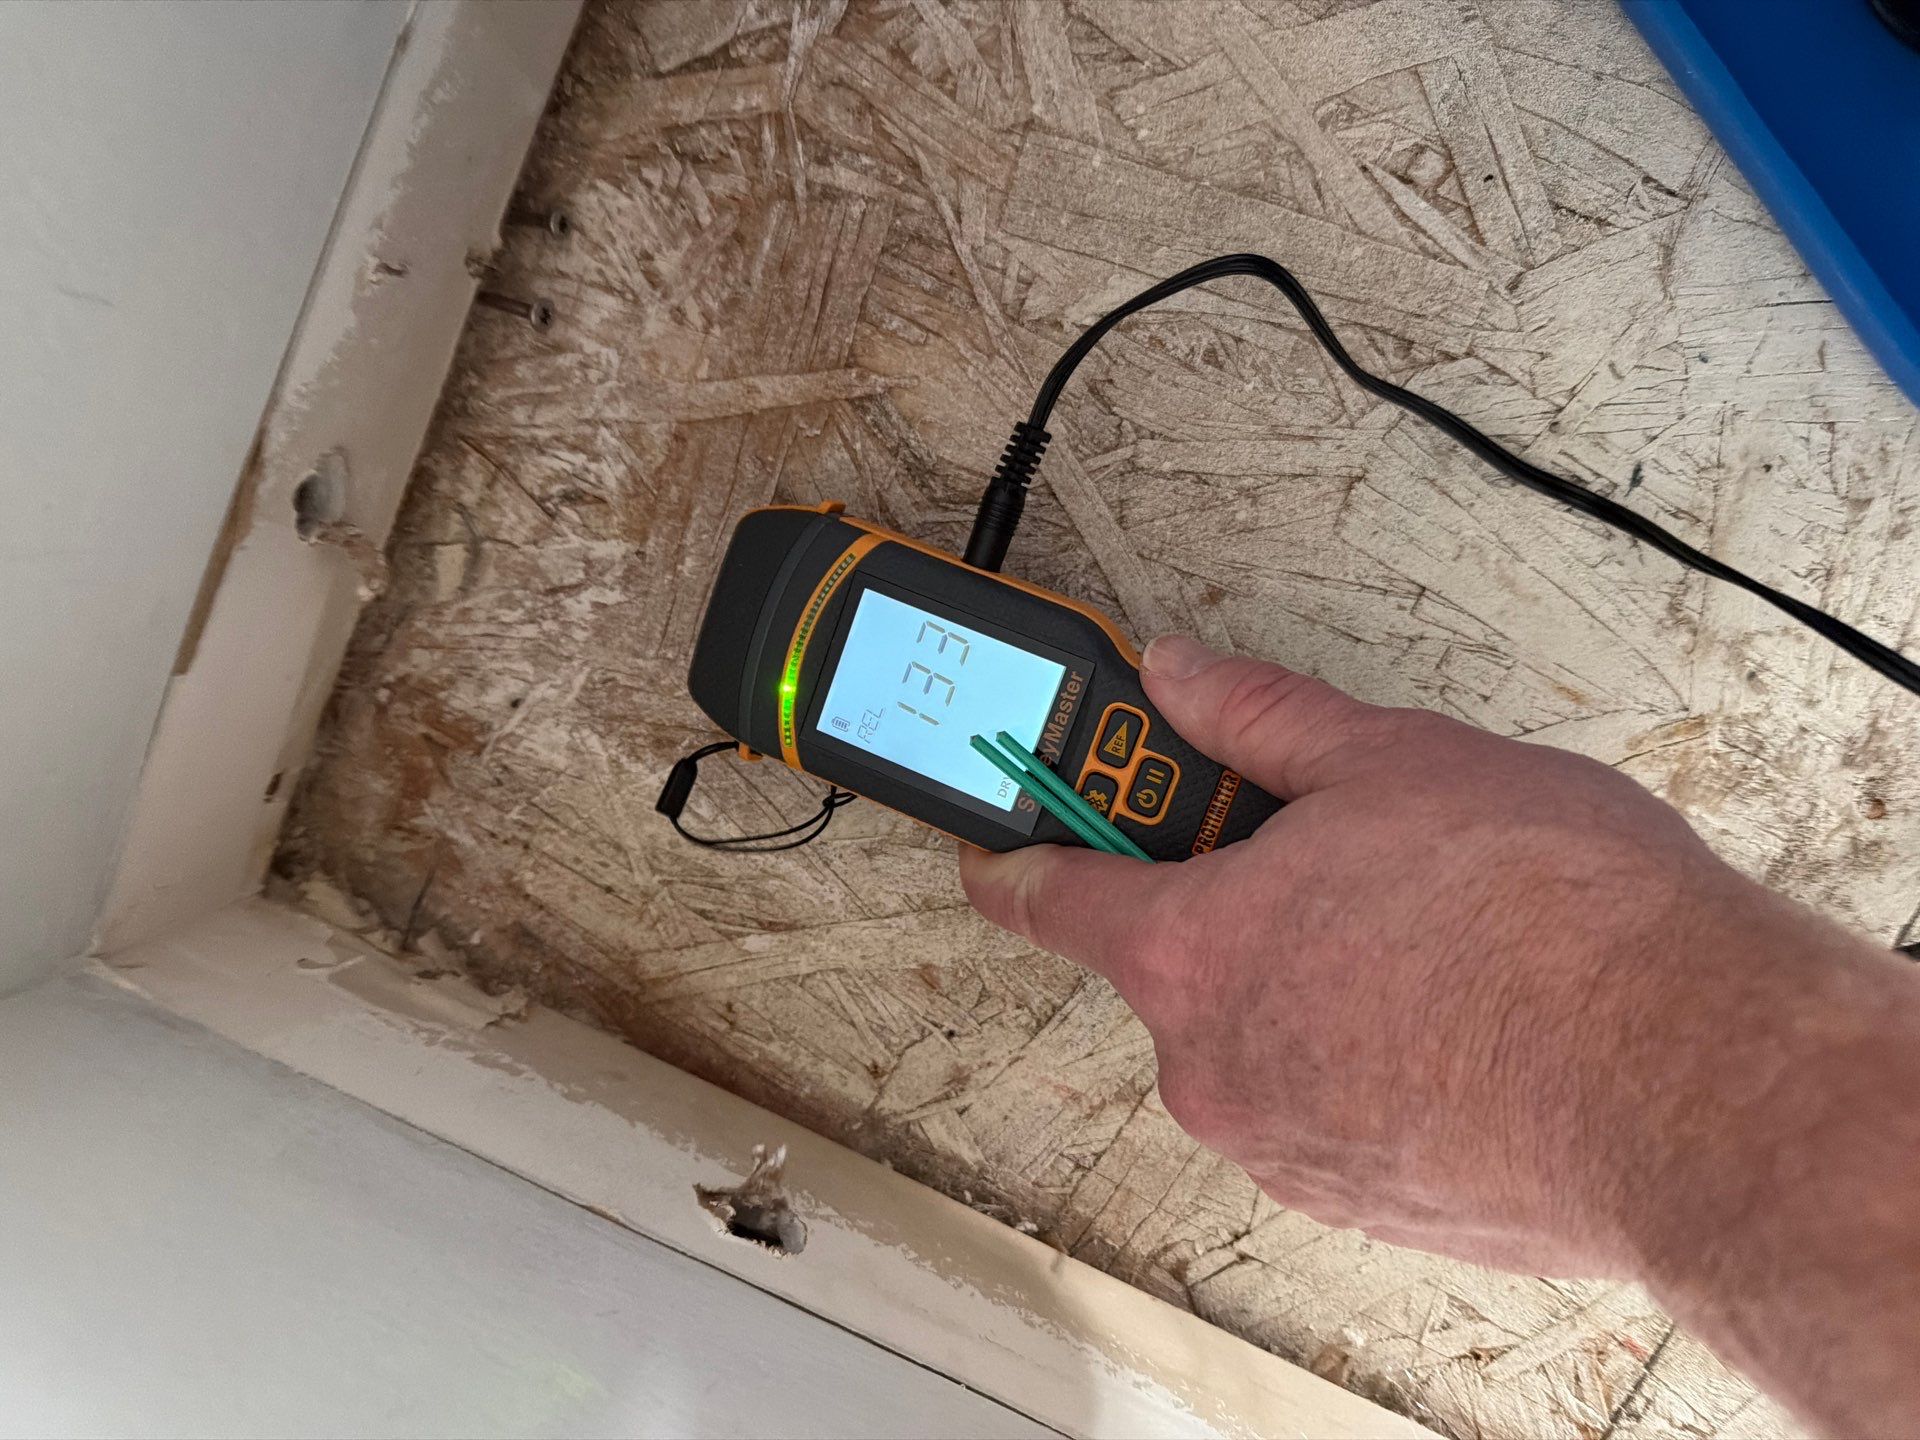
- Probe the cabinet base and toe kick with a pin style moisture meter. Readings above 16 percent in wood materials require active drying.
- Document everything with timestamped photos: appliance model number, source point, water line on cabinet bases, and floor condition. Your insurer will request this. Our guide on how to file a water damage insurance claim walks through the rest of that process.
- If water has reached more than 10 square feet of flooring, or if it has migrated under cabinets or into adjacent rooms, schedule a professional assessment. For deeper context on hidden migration, see our notes on signs of hidden water damage.
- Check adjacent basement ceilings or crawlspace insulation directly below the kitchen. Water travels along joist bays and can surface 8 to 15 feet from the original spill point.
Phase 4: Drying Specifications
Proper structural drying is not a fan pointed at a wet floor. The IICRC S500 standard requires specific equipment ratios and monitoring.
- Air movers: one centrifugal unit per 10 to 16 linear feet of affected wall, angled at 15 to 45 degrees.
- Dehumidification: one LGR (low grain refrigerant) dehumidifier per 1,000 to 1,500 cubic feet of affected space, targeting specific humidity below 55 grains per pound.
- Cabinet drying: remove toe kicks and drill 1/2 inch ventilation holes in the cabinet base if moisture readings exceed 20 percent.
- Monitoring: daily readings on subfloor, drywall base plate, and cabinet sides for 3 to 5 days.
- Ambient targets: maintain affected area between 70 and 85 degrees F. Drying slows sharply below 65 degrees F and above 90 degrees F.
- Containment: isolate the kitchen with 6 mil poly sheeting if the home HVAC is pulling humid air from the wet zone into dry rooms.
When to Escalate to a Restoration Crew
- Standing water present for more than 24 hours before discovery.
- Affected area exceeds 100 square feet across one or more rooms.
- Hardwood flooring shows cupping or crown distortion at the seams.
- Moisture readings in drywall exceed 1 percent on a non invasive meter at the 24 inch height.
- Any indication water has reached electrical outlets, recessed lights below, or the HVAC supply boot.
Greentown Water Restoration dispatches certified technicians across Greentown in most cases within 2 hours of the initial call. Bring the photos from Phase 3 and the model number to the first appointment.
Typical Dishwasher Flood Repair Costs in Greentown
Ranges reflect typical Central Indiana conditions and Category 1 clean water losses.